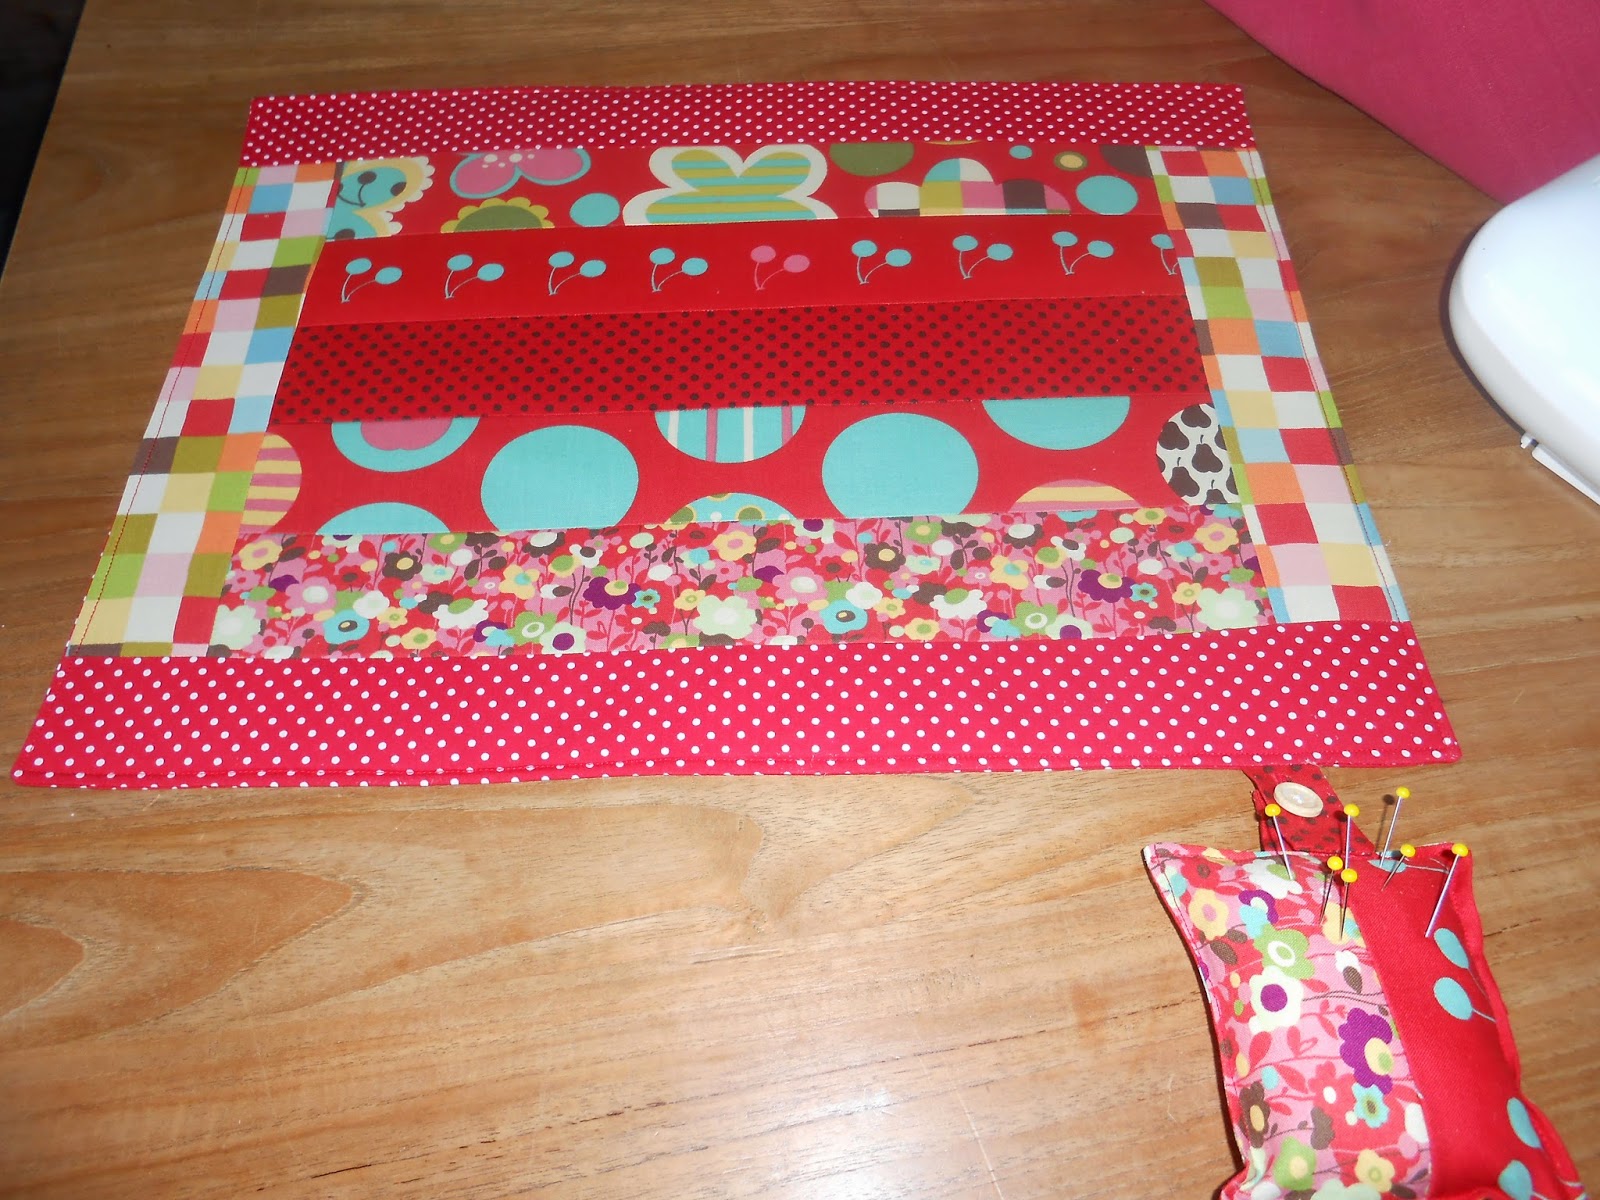
Quilt As You Go
Sewing machine mat.
You will need for a 30cm x 40cm mat
- 5 jelly roll strips approx 40cm long. I used Moda's Avant Garden
- Approx 30cm x 40cm piece of wadding - I used a 2oz but 4oz would also work fine. Anything heavier than that gets difficult to put through a standard machine.
- A piece of backing fabric 30cm x 40cm.
Pin the first strip of jelly roll wrong side down to the long side of the wadding.
Run a skinny seam down the edge to hold the roll in place.
Now, the fun starts - lay the next strip of jelly roll on top of the first - right sides together - pin and run a 1/4" seam down the side
For reasons that I can't remember explain, I didn't take a photo of pressing the seam and then opening up the two strips. Always use something to cover the wadding - it makes a very unforgiving mess on your iron otherwise! I always have some brown parcel paper handy.
Repeat these steps again until all five pieces are stitched to the wadding.
On the final strip stitch a skinny seam to hold it in place on the wadding. That is exactly how simple it is to Quilt As You Go....
Next you will need to square off your sides using a rotary blade and long quilting ruler.
Nearly done, lay your quilted top onto your backing fabric, right sides together. I like to pin from the centre out and then stitch using a 1/4" allowance. Remember to leave a few inches open to turn your piece. Obviously you would have to be really daft to forget that... and then have to spend an age hunting for a seam ripper!!
Finally trim your edges and corners, turn it all through and pin your opening shut. I have an old plastic knitting needle that I use for "wiggling" my corners. It is helpful to press the whole mat again and then either hand stitch the opening or better yet top stitch all around the edge.
Job done!
The wonderful thing about this technique is that it can be sized up or down! A table runner, small cot quilt, table mats....
I hope you enjoyed this tutorial, I spend a lot of time making these tutorials so please link back if you use any part of it. I am not sponsored by any of the suppliers of products that I use.
It would be lovely to hear from you and see your makes. Come back soon as I expand this technique to make a larger mat with a tabbed pin cushion...
Have a lovely day. I can also be found burbling away at www.facebook.com/BeadsBraidsAndBows
Loves & Hugs. Lor.xx


